I'm so excited to be sharing how we made over our boys bathroom for under $200! This bathroom makeover should have been done when we first moved in, 2 years ago! But, I'm glad we waited so I could come up with a better design plan than just painting the walls. I'm going to break this bathroom makeover post into a two or three part post since going into all of the details about installing some of products gets pretty lengthy. For this PART 1, I'm sharing the before and after pictures with the products we used. I'll be sharing the process with tips on installing the Peel and Stick Tiles and the Board & Batten in PART 2 and PART 3!
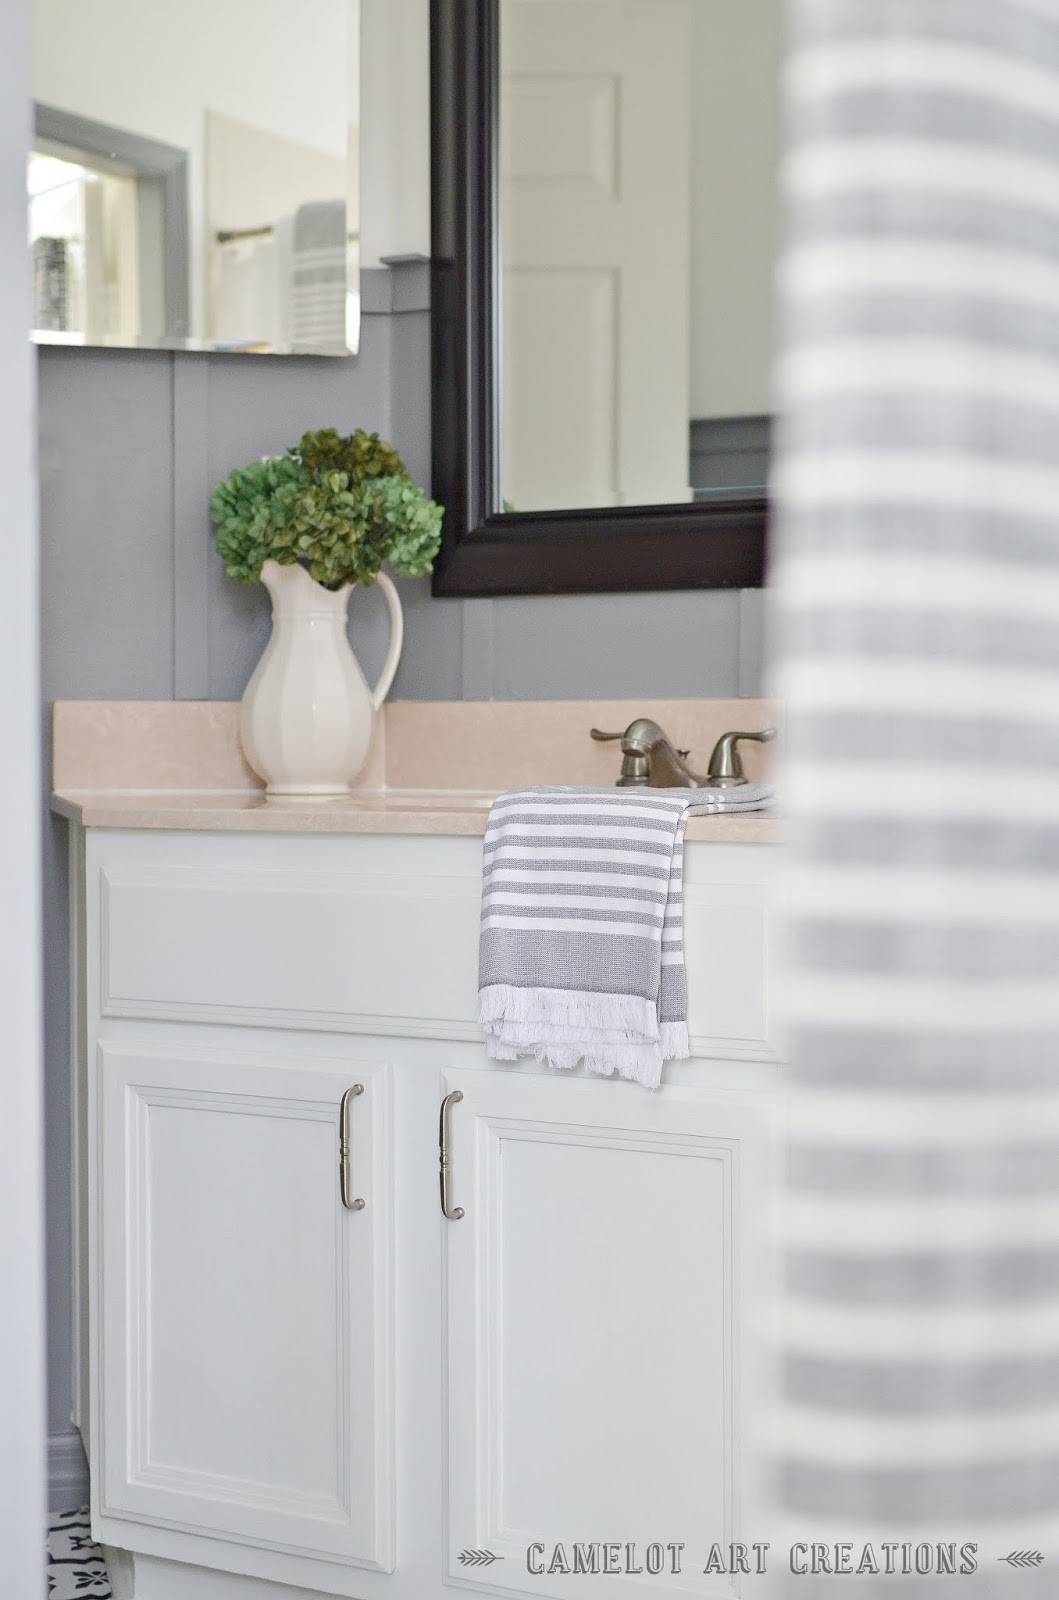
When I started planning this bathroom makeover I had planned on buying a new mirror (a gold one), spray painting the light fixture black and spray painting the faucet black. Once we finished installing the board & batten and painting , the brushed nickel finish didn't look as dated anymore and decided to leave it as is. I think brushed nickel is a timeless finish and changing everything to black will eventually go out of style. It saved us about $60-$120 too by leaving the black mirror.


You can still see a small strip of the brown tile against the bottom of the baseboard where we need to add quarter round to cover it up. I am so happy with this Peel and Stick floor tile though from FloorPops! They are easy to clean, easy to install, not slippery and are holding up great so far. It's been about a month and a half since we've installed them.

Purchased Materials
- Floor Tiles $39.92 / $9.98 a box and we needed 4 boxes(sponsored so received for free)
- Small lattice Strips (for board & batten) $45.76
- Large Lattice Strips (board & batten) $55.32
- New Hardware for Cabinet Doors $8.62
- Power Grab Glue $5.27 (to glue wood to the wall)
- New Interior Door Handle $17.36
TOTAL $132.33!!
TOTAL if we purchased flooring $172.25!!
Materials That We Already Had
- Gray paint for the lower walls - Behr "Gray Area)
- White paint for the walls and ceiling - Behr "Falling Snow"

We ran the larger lattice wood strip right above the baseboard and along the top side where the smaller lattice strips ended.
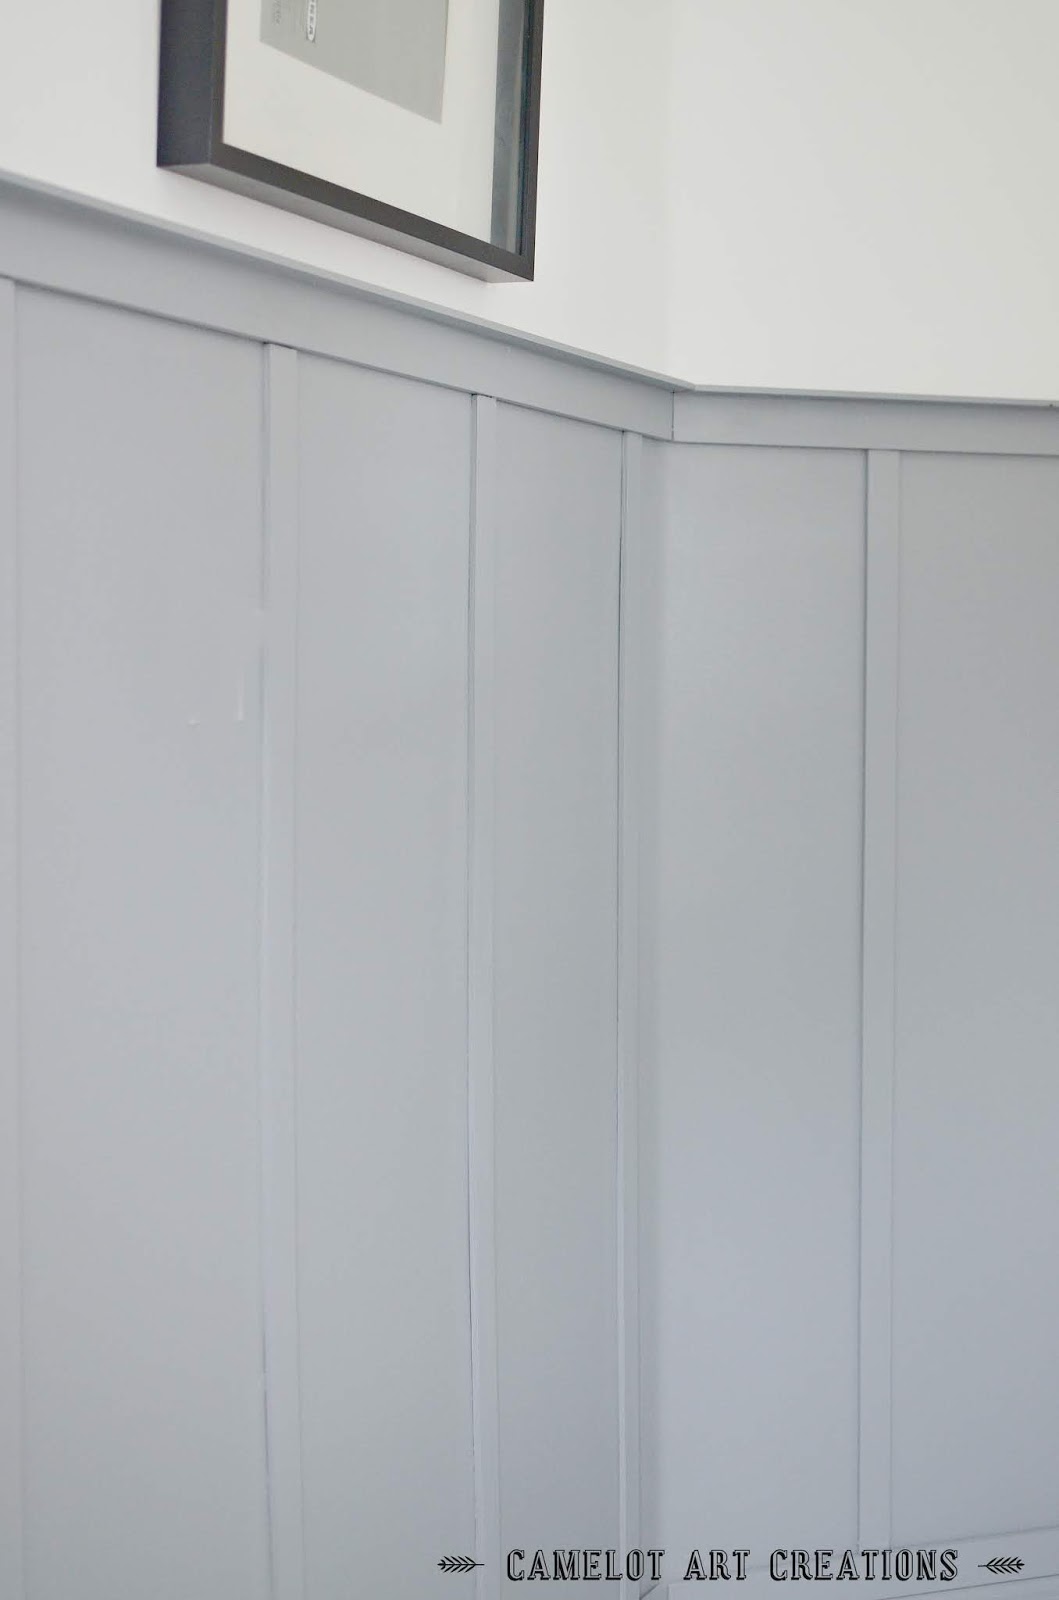
We went with a thinner type of wood strips for the board & batten than your typical 1"x2" & 1"x3" since the bathroom is small and we didn't want to install heavy wood on the walls. The wood strips are called "lattice" and can be found in the decorative wood trim section at Home Depot. It's sold by the foot so, we did 4 of the smaller strips ("1in.x2in.") at 12' long & cut them down ourselves at home to get 3, 4' long strips out of each strip. We used this same size for the top ledge.


We couldn't decide if we should paint the back of the door gray or not. After trying it white with the gray trim, I want to paint it gray and change out the dated gold hinges.


The pink counter top blends in a little better now with the new fresh paint colors!


Here are the BEFORE pictures! It just felt dirty coming into this bathroom with the cream/brown walls and floors plus the scratched cabinet. Sorry I didn't take better before pictures, so brace yourself!


PIN IT!

I always try to share and show people ways to update their home on a budget! That $200 ($300 if you had to buy paint) can go a long ways! Yes, it would have been nice to get a new vanity and real tile but for now this bathroom has a fresh new look!


Gasp! Desiree, this is such an amazing transformation. The fact that you did it on such an amazing budget is even more impressive. It's beautiful.
ReplyDeleteThank you, Heather! I was hoping to do it for $100 but man, Wood has gotten pricey over the years!😂
Delete