I noticed Serena & Lily's rolling boxes a while back and thought they were cute, but I really don't have space for something like a big box. So I got to thinking and we have space under our buffet / t.v. stand.
 |
| Source: Serena & Lily |

I measured height, remembering to subtract the size of your wheels. If you have a 28" space & 4" wheels you would have a box with a 24" height, measure length, and depth. I have an outlet that I'm hiding under my table, so I didn't measure all the way to the back of the wall. The power cords stick out about 2", that is what I measured to.

Measured out the bottom on a piece of plywood and used my chalk string to mark a straight line. My box is 27" long, 16 " deep (wide), and 14" high. After cutting my plywood I noticed that I wanted the front and back to only show the pallet planks. You will need to subtract whatever size wood you are using for the ends from your base measurement.
Example: 27" long, with 1/4" plywood for the end pieces would be a 1/2" (two end pieces at 1/4" each is a 1/2") so 26 1/2"

I used a T square ruler to mark a straight line at one end of your planks and cut that end so it's straight. Then measure your board out, in my case 27".
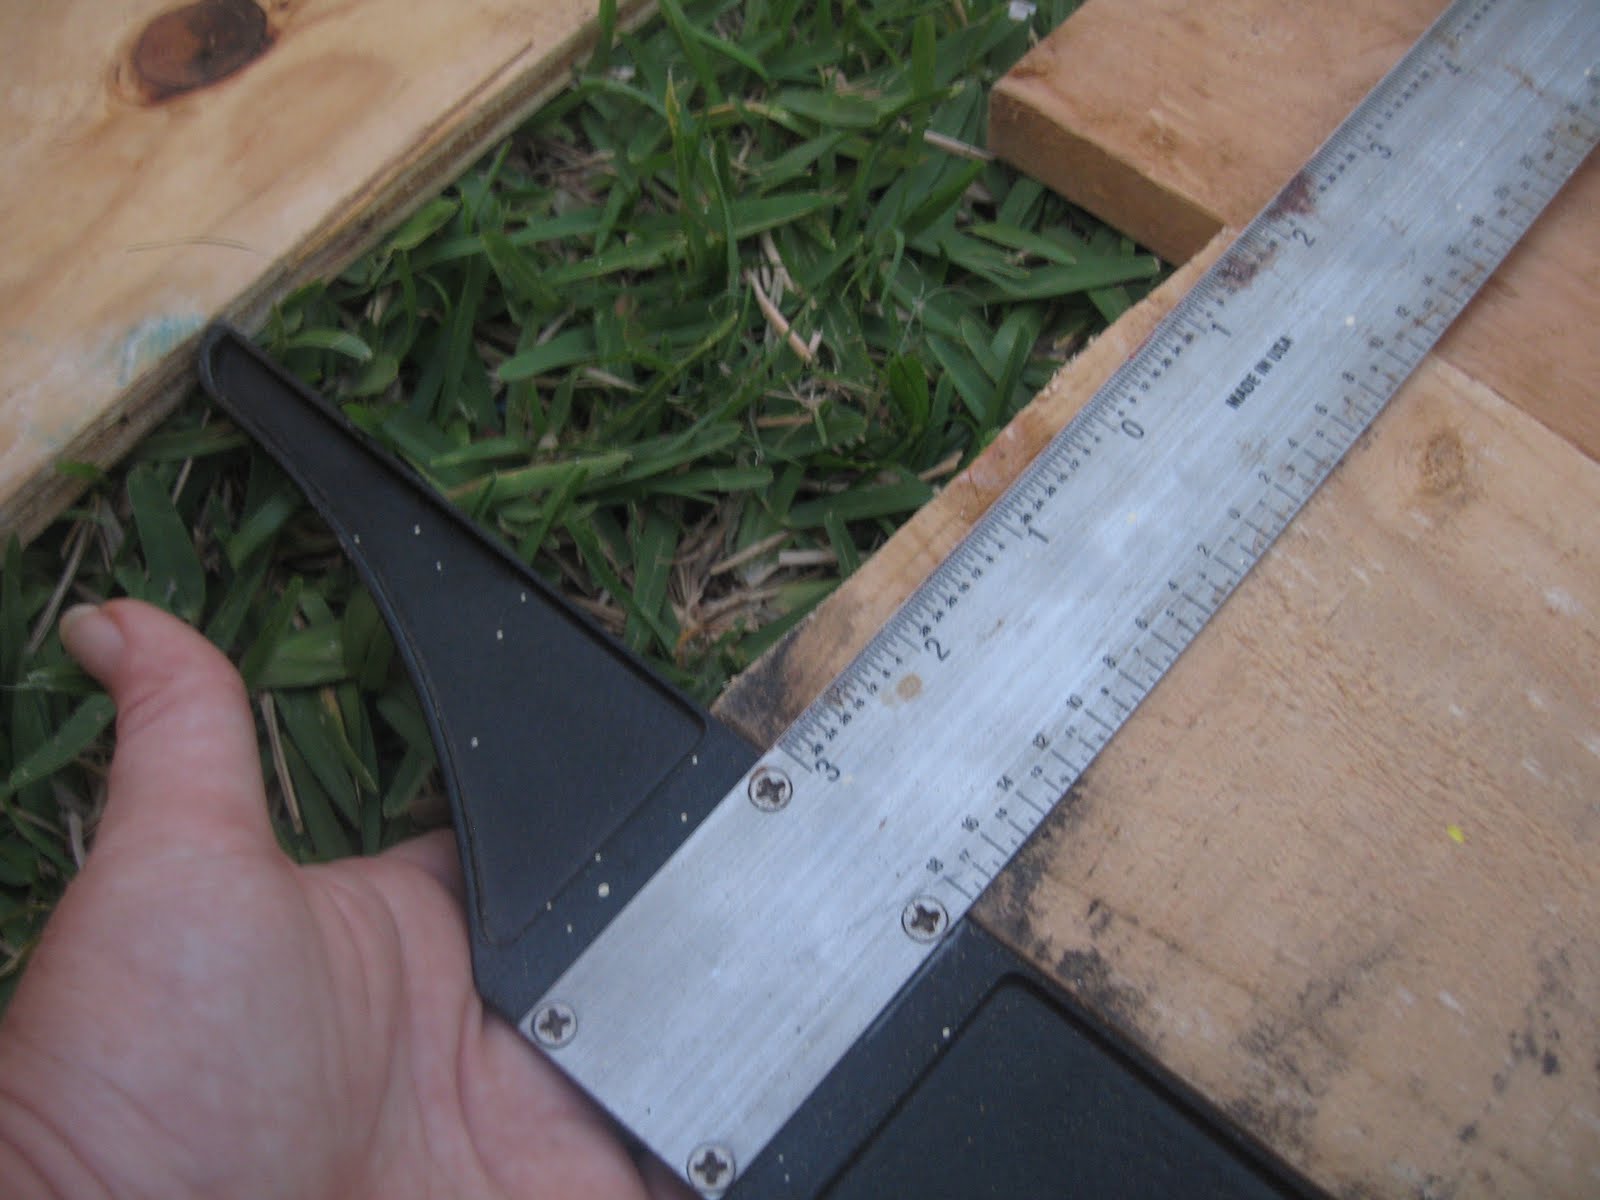
Everything laid out to think about it! With every cut I made during this project, plans would change...lol
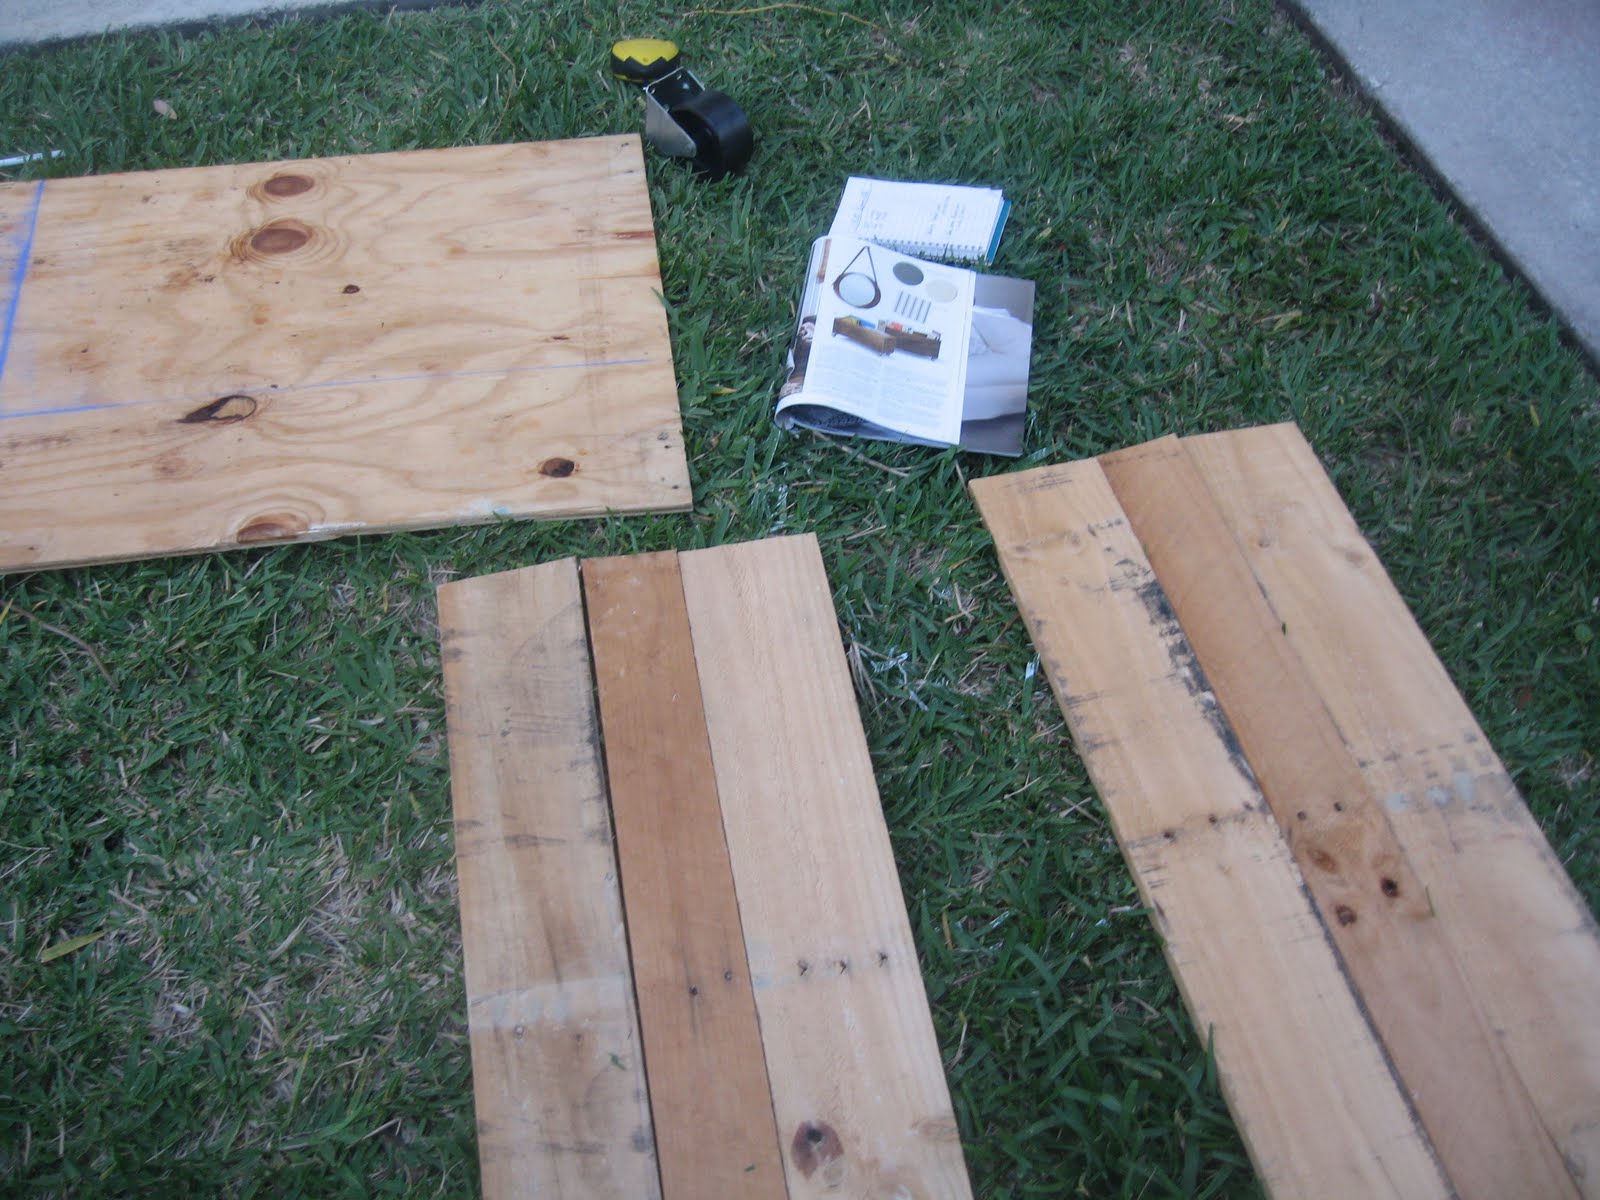

Cutting all my boards to length.

I sanded everything down before I started building.

I did have to use some wood glue on one board that had a large crack in it.

I don't have any clamps so I improvised...rubber bands?? It worked!!

Clamps would be MUCH better for this, but I didn't want to buy anything.

I glued all my boards together, once again I need a way to hold the boards together....rope?? It worked!!

I had two large boards and one smaller one that ended up ea-quelling out the height I needed (14"). Glued the two together, then the third.
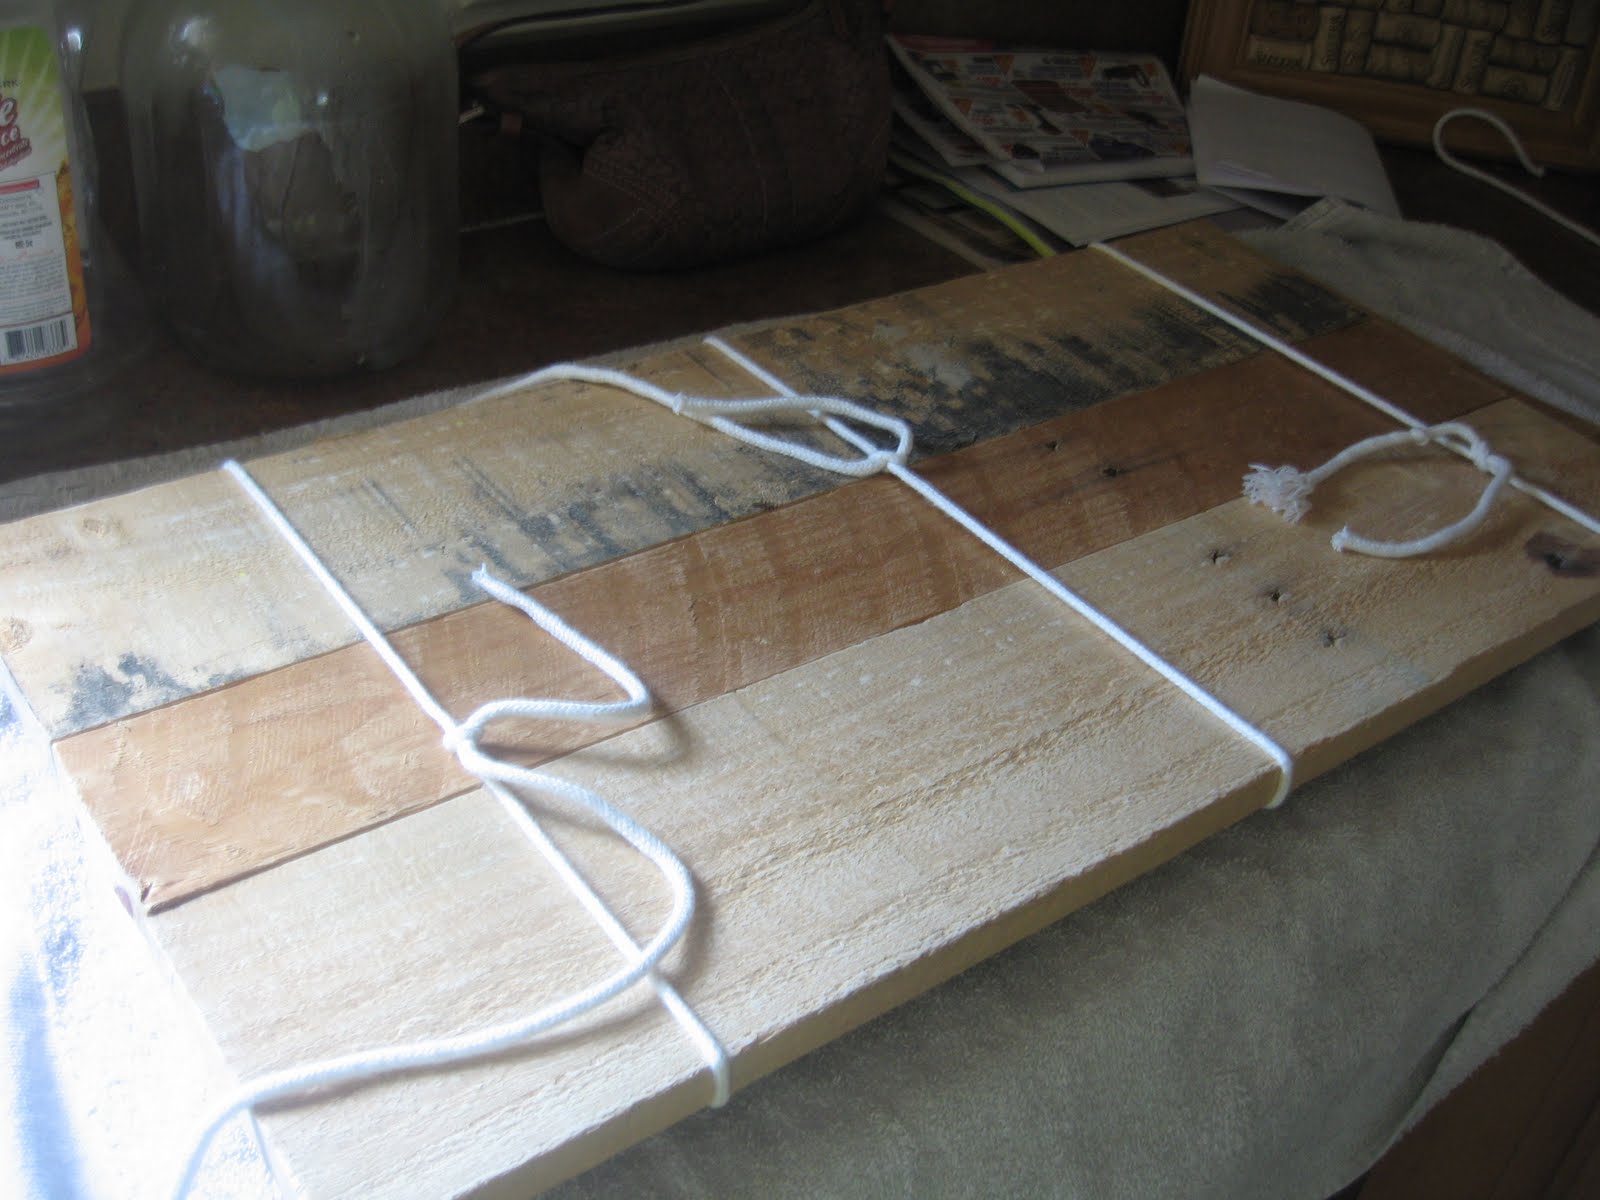
I now had two side pieces.

After dropping one of my "walls" and one of the boards braking off, I attached them all together with scrap wood on the inside of the box. As you can see in the picture bellow.
Like I said, plans changed as I went along and building something SQUARE is very difficult, even more so with imperfect pallet wood.

The Ends
Measure out width and height, in my case 16" x 14". I just eye balled where I wanted the handle holes to go and used a diaper box tab to trace the shape onto my wood, making it a little larger though.
Drill a large pie-let hole for your jig saw.


Cut out your handle.
Putting it all together
At this point I was getting a little frustrated with trying to make it all fit together, and I had to do a lot of "trimming" off to make it work and I stopped taking pictures. I was plugging & un-plugging all my power tools and using the staple gun in a very un-safe manner to put it all together.

See how one end is higher than the other side?? Plug the jig saw BACK IN!

See the 1x1 on the bottom? After putting it all together I would have ran a 1x1 on all four sides around the bottom and staple your side pieces to the 1x1. The same for all four corners. Run a 1x1 in the corners, running up, for better durability.

Bolted on my wheels and I was DONE!

Made sure that it fit!!
 | |||||
| See the plant on the side? That's what I had under the buffet before to hid all the wires. |

Stained it.

Dry brushed it.

Our last name, and the year our first child was born.

IN LOVE!!


~ Desiree ~
Linking to:
Linking to:


Adorable box! I could think of 101 reasons on how to use it! Thanks for the great tutorial as well!
ReplyDeleteDonna
I love that box!! The lettering on the front really makes it look like an antique wood box. Great job, and great tutorial!
ReplyDeleteI love that so much ... it really does look like an old box you added wheels to. Might have to make something like that! Thanks for sharing!
ReplyDeleteThis is sooooo fantastic! We are still making our way through all of the fabulous link ups from last week's Inspiration Friday party and this is just wonderful. :-) Thank you so much for joining us and we hope to see you again this week!
ReplyDeleteVanessa
Great Knock off!! I love it :)
ReplyDeleteI like this box a lot! great job
ReplyDeleteGreat job, Desiree! I love it's functionality and vintage look! :)
ReplyDeleteRoeshel
that looks awesome! what a great way to hide stuff and make it look right in your space. the finish is awesome!
ReplyDeleteReally great tutorial...I love this idea. I have a couple of rolling crate sin the works...but this box is fabulous and I love how you finished it...it is perfect! I am a new follower.
ReplyDeleteHolly
504 Main
Cool Box! Love it!
ReplyDeleteI am a new follower from the Creative Bloggers Party & Hop. Hope you follow me too.
LOL! Your rolling toybox will definitely help in the organization domain :)
ReplyDeleteGreat job. LOVE love LOVE it! Wish I had your patience. New follower :)
ReplyDeleteYou are so creative! I love seeing what you come up with!
ReplyDeleteAbsolutely LOVE your blog♥
ReplyDeleteVery impressive! It looks beautiful!
ReplyDelete