I have had a couple of peg boards in my garage for some time now that a friend of mine gave me and after scoring a bunch of FREE craft stuff, having a good amount of stuff that I have collected over the past few years, and I am about to be receiving a couple of different sewing machines....it's time for my own craft space!
I pulled out that peg board from the garage and gave it a good coat of primer.
BEFORE
I used a "fine grade" sanding block first to "scuff up" the surface. Brush/wipe off all the dust and spray your primer.
You can buy peg board that comes white and this will save you a few steps...I used what I already had.
After my first coat of primer I did a light sand again with the "fine grade" sanding block to make sure I had a smooth surface to apply my paint to.
I used Rust-Oleum spray paint in White Semi Gloss. It was what I had in my garage from a previous project.
It did take two coats to get the right amount of coverage I wanted.
On to the stenciling...
In the past I have had a hard time stenciling properly. A few tips that I figured out while doing this.
1. use a foam brush
2. wipe off ALL excess paint
3. do a "pouncing/dabbing" motion over your stencil
4. after each section rub off the back side before laying down a new one
I have to say the MOST important thing I figured out was to NOT put to much paint on your FOAM BRUSH! Don't use a paint brush!
I let my grey areas dry and moved onto some yellow. Overlaying the grey with yellow.
I used a Semi Gloss sealer over the whole thing when I was done to help protect the paint job.
For the back side I glued four wooden blocks, one in each corner to get the peg board to stand off of the wall.
To hang it, I just looped some wire that I had through each side to make a "hanger" in the back
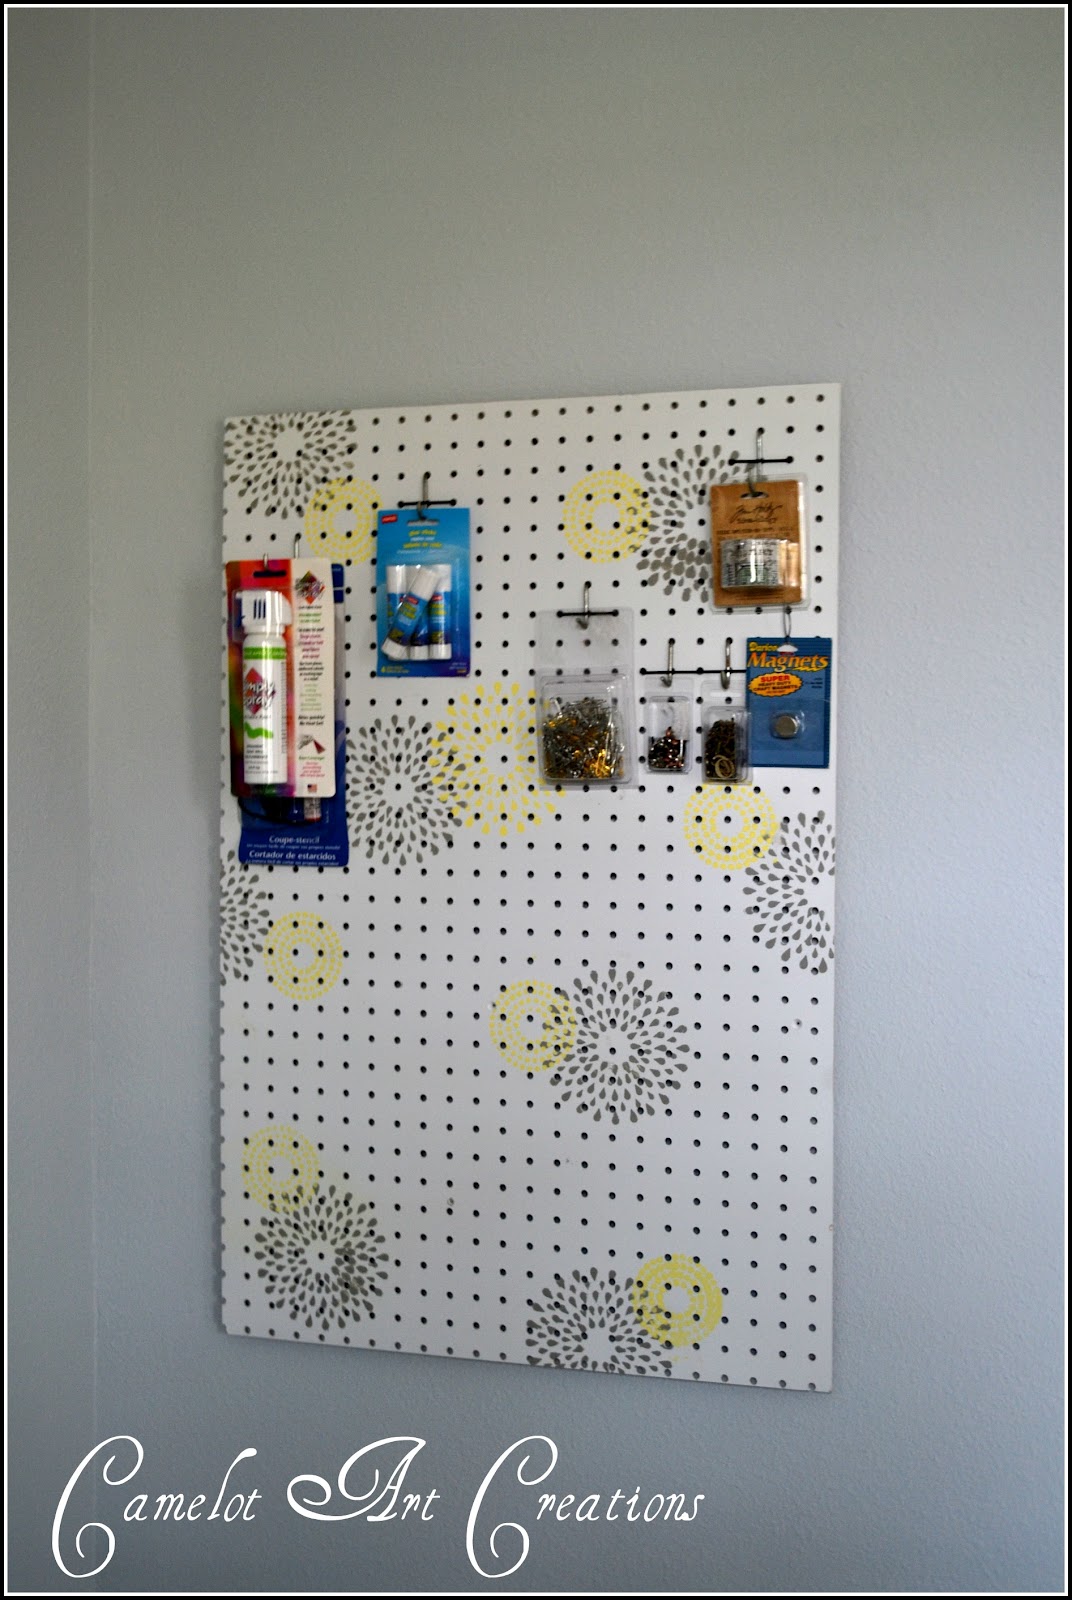
All done and hung up!!!
For now I have put my little writers desk in the room, not sure it will be staying.
I'm thinking of building an "L" shaped desk/shelving unit to go in that corner.
That's it for now....
Linking To:







 Posts
Posts


