Showing posts with label rust-oleum. Show all posts

Tuesday, October 2, 2012

DIY Removable Chalkboard { Tutorial }

My grandmother gave me this painting in a beautiful frame about five years ago. She no longer wanted it and I took it for the frame...not a fan of the painting itself.
 
After looking at the backside and seeing how nicely framed it was I couldn't bring myself to tear it all apart.
 
That "What If" (regret) kept tugging at my heart strings since it came from my grandmother!
 
I LOVE the frame though!
 BEFORE

AFTER


Please don't mind the slight mess in the pictures...I'm in the proses of decorating for Halloween!!
 
First measure from the INSIDE of your frame, height & width.

I picked up a thin piece of Tri-Ply from Home Depot and had them cut it to size for me...it's FREE so take advantage of that. One less thing for you to do:)
 
 
Sand the sides down and the front side.
 
 
I happened to have a few strips of white sticky back Velcro and placed them on the back side of my board.
 
TIP: stick the two pieces of Velcro together, than place the "set" on the back of your board and press onto your new surface.
 
This will ensure that the Velcro pieces line up properly.


Put it up and see if your Master Plan works.....It DID!!
 
Off to paint your board now. I use Rust-Oleum Any Surface Chalkboard paint.


After it has dried rub chalk all over it and rub it off.


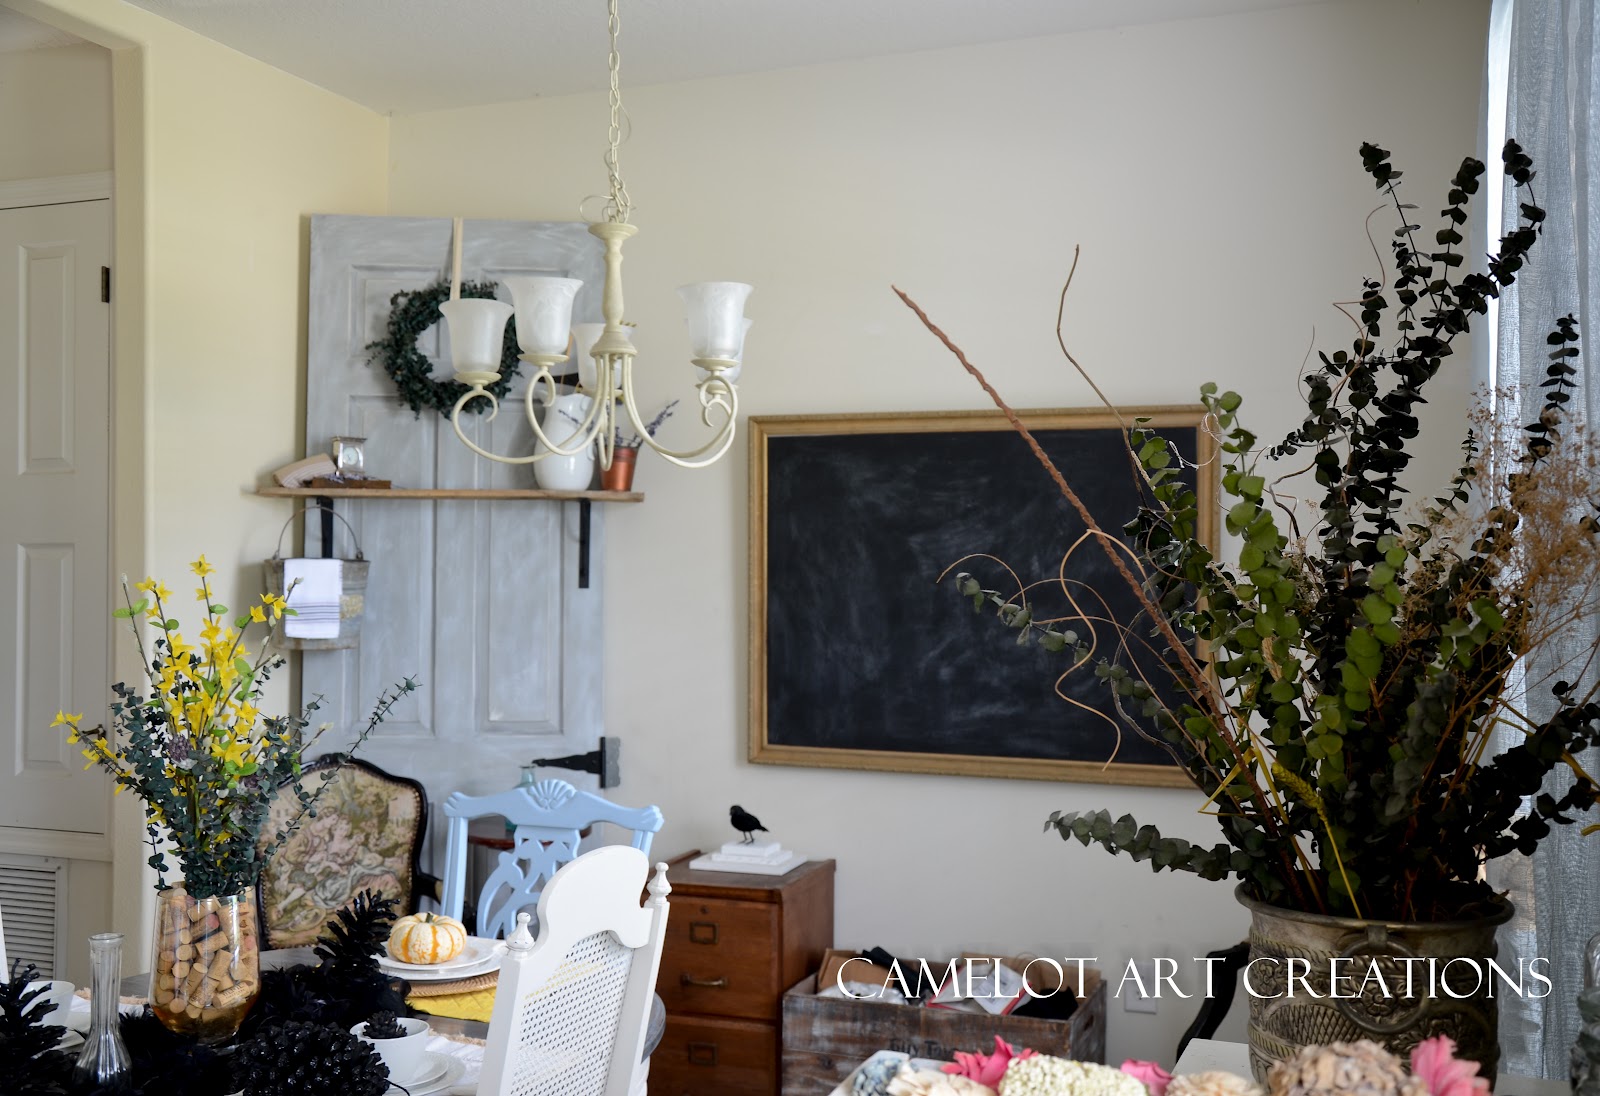
I will be fixing the dining room up this week and hanging the chalkboard higher once I get a cute Halloween design on it.
 
You can't even see the Velro circles on the painting.


Can You See Them??  NOPE!
 
So one day I might like the painting and I will be able to change it with just a pull of a board.
 
 
This is what I did with our other chalkboard in the family room.


If you love chalkboards come follow my board on Pinterest HERE:)


Linking To: 
The 36th AVENUEHome Stories A2Z A Diamond in the Stuff


Liz Marie Blog
Funky Junk's Sat Nite Special

Monday, February 6, 2012

New Craft Room { Stenciled Peg Board }

I have had a couple of peg boards in my garage for some time now that a friend of mine gave me and after scoring a bunch of FREE craft stuff, having a good amount of stuff that I have collected over the past few years, and I am about to be receiving a couple of different sewing machines....it's time for my own craft space!


I pulled out that peg board from the garage and gave it a good coat of primer.

BEFORE


I used a "fine grade" sanding block first to "scuff up" the surface. Brush/wipe off all the dust and spray your primer.

You can buy peg board that comes white and this will save you a few steps...I used what I already had.

After my first coat of primer I did a light sand again with the "fine grade" sanding block to make sure I had a smooth surface to apply my paint to.

I used Rust-Oleum spray paint in White Semi Gloss. It was what I had in my garage from a previous project.
It did take two coats to get the right amount of coverage I wanted.

On to the stenciling...

In the past I have had a hard time stenciling properly. A few tips that I figured out while doing this.

1. use a foam brush
2. wipe off ALL excess paint
3. do a "pouncing/dabbing" motion over your stencil
4. after each section rub off the back side before laying down a new one

I have to say the MOST important thing I figured out was to NOT put to much paint on your FOAM BRUSH! Don't use a paint brush!

I let my grey areas dry and moved onto some yellow. Overlaying the grey with yellow.


I used a Semi Gloss sealer over the whole thing when I was done to help protect the paint job.

For the back side I glued four wooden blocks, one in each corner to get the peg board to stand off of the wall.


To hang it, I just looped some wire that I had through each side to make a "hanger" in the back

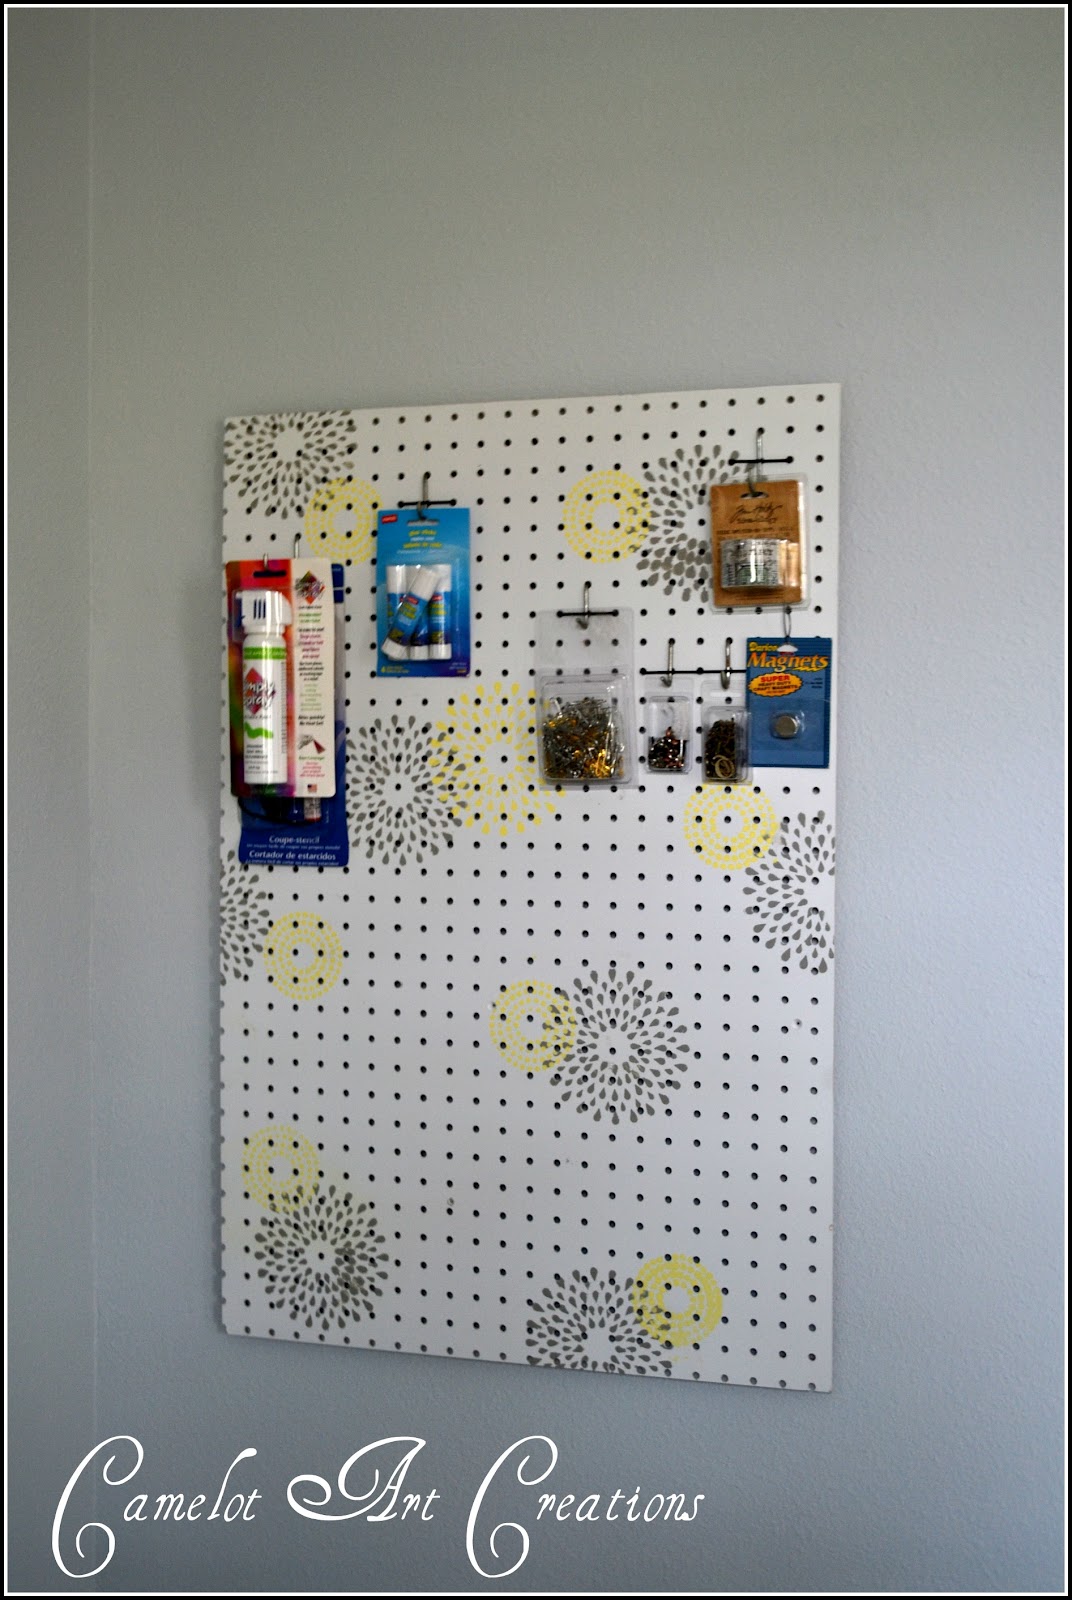
All done and hung up!!!


For now I have put my little writers desk in the room, not sure it will be staying.

I'm thinking of building an "L" shaped desk/shelving unit to go in that corner.


That's it for now....

Linking To:
{Primp}It's Overflowingshabby creek cottage


Follow Me On Instagram

amazon

Related Posts Plugin for WordPress, Blogger...