Showing posts with label rust-oleum chalk board paint. Show all posts

Sunday, December 2, 2012

Chalk Art

I have a slight obsession with chalk art right now! It's so fun creating something new every month.


I have started dabbling into photography and I recently used my Christmas chalk board for the shoot.


If you are looking for some chalk board inspiration, go follow my PINTEREST CHALK BOARD.


Linking To:
The Shabby NestFunky Junk's Sat Nite Special

Liz Marie Blog

Tuesday, October 2, 2012

DIY Removable Chalkboard { Tutorial }

My grandmother gave me this painting in a beautiful frame about five years ago. She no longer wanted it and I took it for the frame...not a fan of the painting itself.
 
After looking at the backside and seeing how nicely framed it was I couldn't bring myself to tear it all apart.
 
That "What If" (regret) kept tugging at my heart strings since it came from my grandmother!
 
I LOVE the frame though!
 BEFORE

AFTER


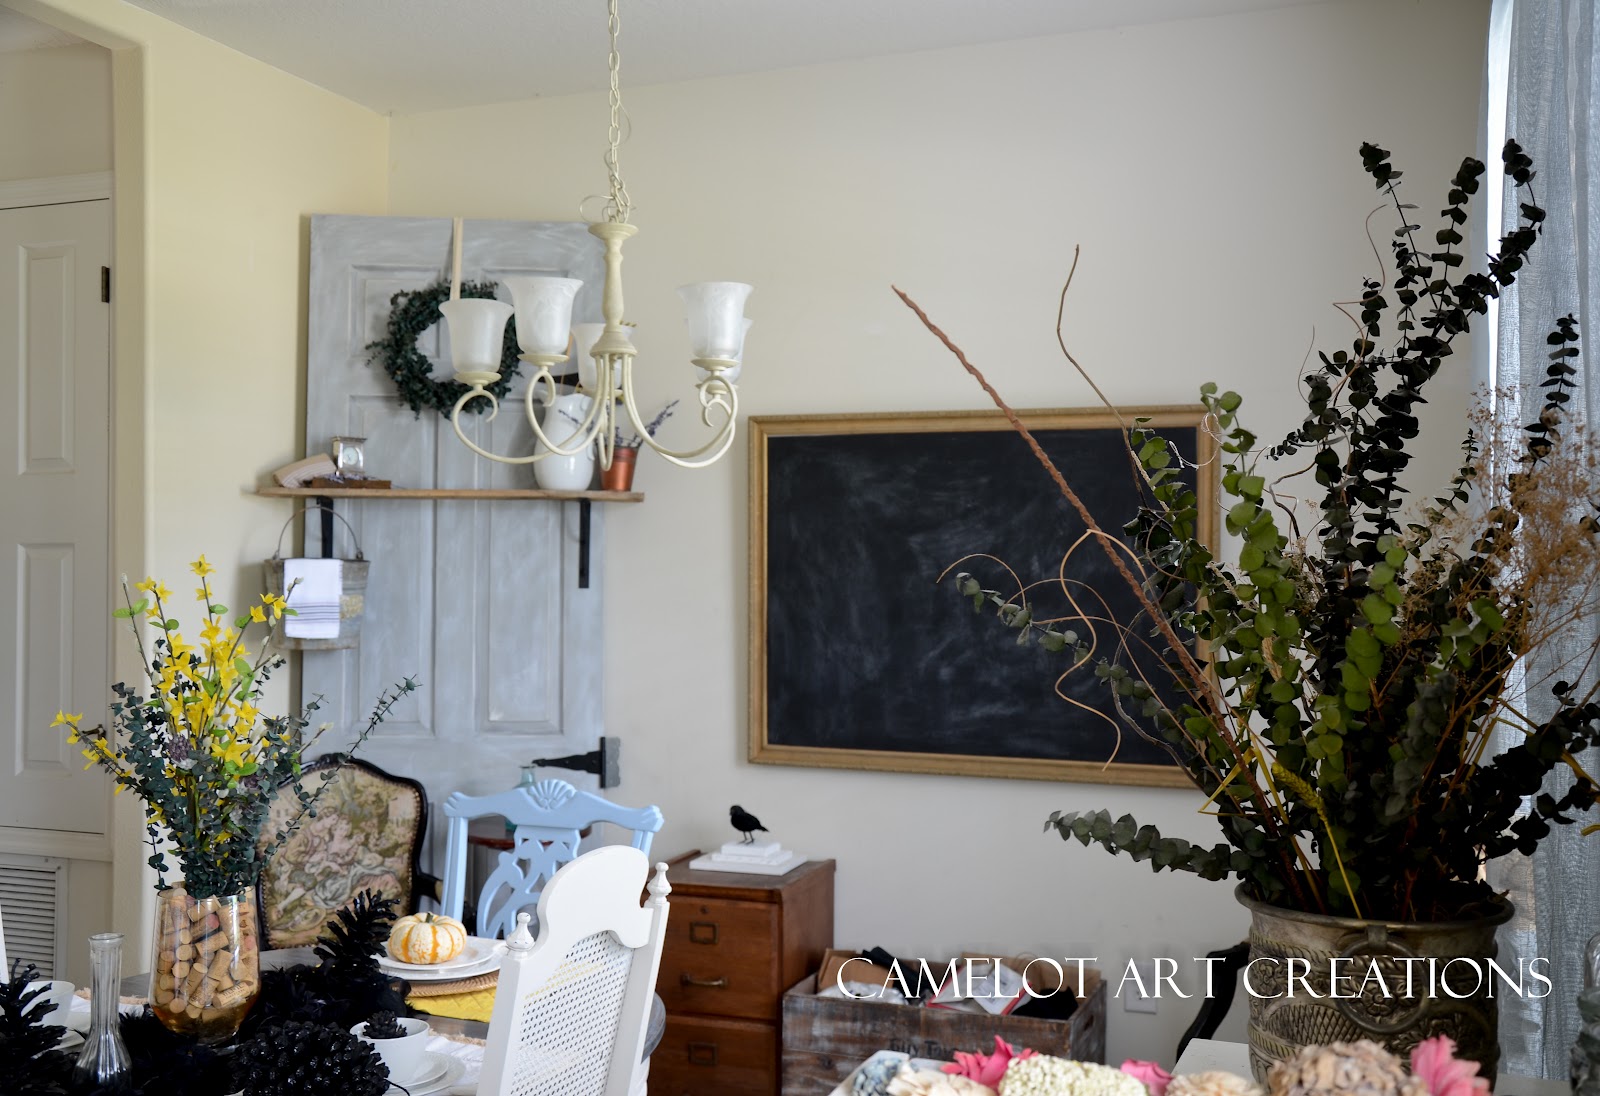
Please don't mind the slight mess in the pictures...I'm in the proses of decorating for Halloween!!
 
First measure from the INSIDE of your frame, height & width.

I picked up a thin piece of Tri-Ply from Home Depot and had them cut it to size for me...it's FREE so take advantage of that. One less thing for you to do:)
 
 
Sand the sides down and the front side.
 
 
I happened to have a few strips of white sticky back Velcro and placed them on the back side of my board.
 
TIP: stick the two pieces of Velcro together, than place the "set" on the back of your board and press onto your new surface.
 
This will ensure that the Velcro pieces line up properly.


Put it up and see if your Master Plan works.....It DID!!
 
Off to paint your board now. I use Rust-Oleum Any Surface Chalkboard paint.


After it has dried rub chalk all over it and rub it off.


I will be fixing the dining room up this week and hanging the chalkboard higher once I get a cute Halloween design on it.
 
You can't even see the Velro circles on the painting.


Can You See Them??  NOPE!
 
So one day I might like the painting and I will be able to change it with just a pull of a board.
 
 
This is what I did with our other chalkboard in the family room.


If you love chalkboards come follow my board on Pinterest HERE:)


Linking To: 
The 36th AVENUEHome Stories A2Z A Diamond in the Stuff


Liz Marie Blog
Funky Junk's Sat Nite Special

Saturday, June 2, 2012

Striped Wall & A New Chalkboard Design

I painted one of our walls with stripes a couple of weeks ago.

I LOVE IT!


Now I want to do board and batten to the other two walls and paint the top part the same color as the stripes....like this.


Via: The Inspired Room via One Nutty Girl

NOW: we rent so I need to find a way to do it for free or like $20..lol


This was all done with an 18" ruler. I made little marks at 12" than drew a line connecting them all. I have a very steady hand and knew I could "cut in" these lines making them strait.


The paint was from my last dump run, SO that was FREE and I am in LOVE with this color! It looked more grey on the out side of the can but It has a blue tint to it. Which is fine because my the rest of our house is a soft blue.


Sherwin Williams FREE paint, 3/4 full from the Hazardous Waste Dump!

The top of the can says 7064 PASSIVE.

You can see one of my trips to the dump HERE!


The stripes worked out well lining up the "white" part with the outlet and light switch!!


I want to make this room (our family room) cozy, nautical, and Functional!

This room is SOOO HARD though! The size of this room, you can't even fit a full size couch in it! All of our rooms in our townhouse are small! I HATE IT!


Thursday, December 29, 2011

Nature Turned into Beauty {tree log candle holder}

I had several tree stumps that I grabbed from HERE. They looked so festive around the house:-)

So I turned them into tea light candle holders.


 As I was snapping shots, the kids came by and wiped the chalk board. A neighbor was throwing away the frame a while back and I rescued it from it's future life in the land fill....I'm so nice...haha!

My husband loves it when I go trash picking...NOT!

I just cut a thin piece of wood to fit in the middle and painted it with my Rust-Oleum chalk board paint.

Don't mind the ugly counter tops! If we owned our place I would be putting in new counter tops and painting the cabinets!

I had a more interesting log on hand and did another tea light candle holder for the counter.


I used a flat drill bit 1 1/2 in. That Santa brought me a little early for my stocking...hehe!

My flat head drill bit set was $9.99 at Home Depot but really all you would need is one and I think they were around $4.

I still have several tree stumps/logs in my garage for future ideas, so maybe you will see a new one soon!

Linking to:
Home Stories A2Z

Follow Me On Instagram

amazon

Related Posts Plugin for WordPress, Blogger...