Showing posts with label Free. Show all posts

Tuesday, June 9, 2015

Upcycled Drawer to Shadow Box


 It's a little hard for me to toss solid wood items!
 
My boys were ready for a room makeover and it was time to toss their desk. I tried selling it for a small price and - NOTHING!
 
Which turned out to be a good thing. Before kicking the ugly little wood desk to the curb, I saw new life in the drawers!


What they looked like when I propped them up. I have three of them and have only redone one of them.


First I painted it all white except for the bottom part. I re-stained the bottom board.
I used Mod Podge to place some pretty left over napkins to the back wall. 


I have two more drawers to do and plan on hanging them together on the wall.


Linking To:
Savvy Southern Style 

http://www.frommyfrontporchtoyours.com/2015/09/treasure-hunt-thursday-219-highlights.html

Thursday, February 27, 2014

Faux Birch Soup Can Vase

I'm a lover of nature inspired décor. Us Floridian's don't have the pleasure of Birch Trees growing around us and the cost to go buy them could get costly if you wanted a bunch.
 
Time to create my own!
 
I had a couple ideas on how to get the birch look. You could buy birch paper and glue it around the can...spending money. I thought it would be cool to apply torn paper to the can and painting over it but since this is my first go at this, I stuck to just paining it. 
 
I would suggest spraying on a primer before painting the can if you want it last a long time. I didn't have any on hand so just went with it.


Start saving your cans!


These are the paint colors I used.
 
Base: Antique White (1st.)
Brown: Spice Brown (2nd.)
White: Wedding Cake (3rd.)


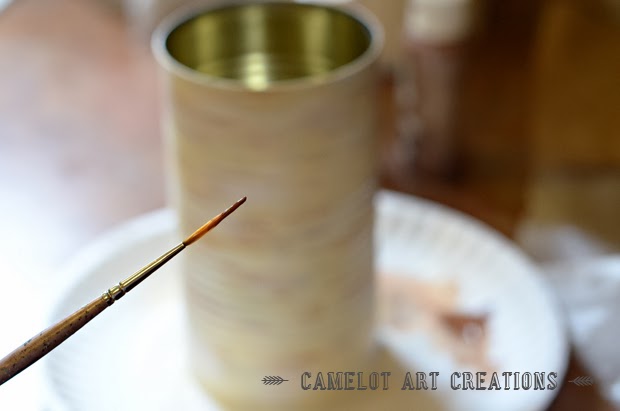
While the first layer (base) color is still wet, take a small dab of the brown and brush randomly placed strokes all around the can. 


Let that layer dry!


Once it is completely dry, take a small amount of the white and randomly brush white all around the can. 


Let it dry again and use a very fine paint brush to randomly place the little brown slits.


This is what you will be left with!!
 
From here you could add embellishments to the can, flowers, twine, burlap, etc. Have fun with it!
 
 
Linking To:


ItsOverflowingThree Mango Seedshttp://simpledetailsblog.blogspot.com/2014/02/best-of-nest-link-party_28.html

DIY Show Off

Too Much Time On My Hands
Liz Marie BlogNancherrow

Monday, November 25, 2013

DIY Fabric Garland {$0 Cost}

We recently through out a leather sofa that had seen better days. The leather had gotten so bad that I put a couch cover on it and it got us another year out of it....when the new puppy thought the couch cover looked yummy and chewed several holes in it.
 
 
I was about to trash the couch cover too when I thought the fabric had some good spots left to it.
 
 
Fabric Garland it was!
 
 
I had some old pajama pants that ripped.....and I stashed away thinking the same thing.....could be useful some day. 


Sorry for the bad "during" photos. I have gotten really lazy with the "in progress" shots!
 
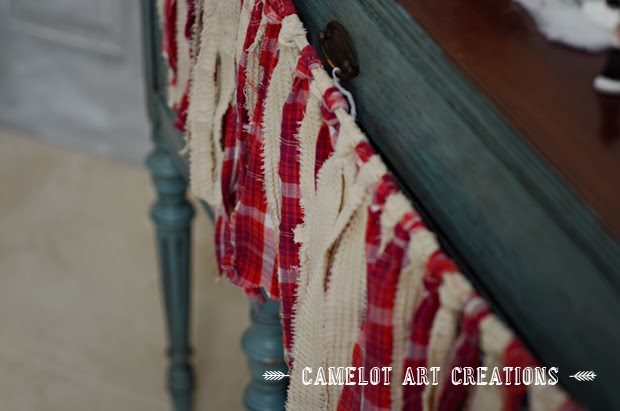
Just rip as many pieces of fabric you would like. Once you have the strips fold it in half and bring the loop part from behind your string and pull the two flaps through and pull down. That will attach your fabric pieces in a nice flat way.
 
 
Couch Cover


PJ Pants
 
 
I used the seam of the couch cover to tie all the strands to.


Love when my vision works!!


Total project cost a big fat $0!!!
 
You don't always need to spend money for something new:)
 
 
Linking To:

Liz Marie BlogThe 36th Avenue


Three Mango Seeds

Follow Me On Instagram

amazon

Related Posts Plugin for WordPress, Blogger...